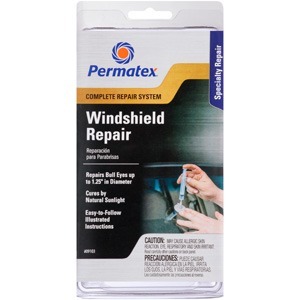
Permatex Windshield Repair Kit PX09103
Part Number: PX09103

* This price is only valid for online orders. (Not In-Store)
Click and Collect
Click & Collect will be from Mount Druitt NSW only. Monday-Friday 9am-4pm
*ALL orders must be pre-purchased for Click & Collect
*Orders placed after 11am may not be processed until the next business day
*Address provided in text message when the order is ready.
8 available for Click & Collect within approx 1 business day
1 available for Click & Collect within approx 3-4 business hours
Delivery
Delivery Available
8 usually dispatched within approx 1 business day
1 usually dispatched within approx 1 business day
Product Description
Make permanent air-tight repairs on most types of damaged laminated windshield glass, including bulls eye’s and star damage up to 1 1/4 inches, in just a few minutes. This state-of-the-art delivery system with advanced spring-lock feature, allows you to make professional-quality repairs with no mixing required and it cures by natural daylight. This complete kit provides everything needed for the repair including easy-to-follow instructions with photographs.
DIRECTIONS:
Perform repair in shaded area (not in direct sunlight) with the windshield temperature between 50°F and 75°F (10°C to 25°C). Do not allow the resin to come into contact with cars finish or painted surfaces as this may cause damage. The Windshield Repair Kit repairs damages not exceeding 1 1/4 inch in diameter. READ ALL
BEFORE BEGINNING REPAIR.
- Clean windshield around the damaged area with the alcohol towelette. Clean loose pieces of glass from the damaged area with the pushpin. Suggested: Place a cloth near the bottom of the windshield, below the damage. This will stop any resin that might flow from the repair area.
- A, B2. Take the adhesive disc and peel the backing off ONE side of the adhesive disc. With tab pointing upward, line up the hole in the disc with the center of the damage. Make sure tab points upward. Press the adhesive disc onto the glass. Ensure that the whole adhesive disc is in contact with the windshield. Look at the disc from the inside of the vehicle to make sure there are no air bubbles.
- C3. Peel off the OTHER side of the adhesive disc. Line up the pedestal with the adhesive disc making sure that the tab again points upward and matches the tab on the adhesive disc. FIRMLY press the pedestal against the disc again making sure that there are no air bubbles in the adhesive.
- D, E4. Remove the cap from the resin tube. Away from painted surfaces and your face, carefully cut tip off (approximately 1/8 inches) to open resin tube. Place resin tube stem 1/4 inch into the pedestal opening and carefully squeeze tube to load resin into pedestal. Once tube is squeezed, remove resin tube from pedestal. Wipe off any residual resin from tip. Replace cap on resin tube and save any remaining resin for use in step 9.
- F5. Make sure that the plunger is pushed all the way into syringe prior to use. Carefully and firmly twist the tip of the syringe into the pedestal. The fit between syringe and pedestal should be tight. G6. Hold the syringe with one hand and gently pull plunger upward with the other hand. LOCK IN PLUNGER AT LOWEST INDENT SETTING by turning plunger indent into clip. Spring clip system will secure plunger in place. Allow entire assembly to sit as is for 10 MINUTES.
- H7. Once step 6 is completed, temporarily remove the syringe from the pedestal. This will allow air into syringe. With plunger still locked in lowest indent setting, carefully replace syringe by twisting the tip of the syringe into the pedestal. Hold the syringe with one hand and gently push plunger down with the other hand. LOCK IN PLUNGER AT UPPER MOST INDENT SETTING by turning plunger indent into clip. Allow entire assembly to sit as is for at least 20 MINUTES.
- I8. Once step 7 is completed, remove the syringe. Using the safety razor, slowly remove the pedestal and the adhesive disc from the glass. Wipe off any residual resin from glass.
- J9. Remove cap from resin tube. While holding resin tube in one hand and curing strip in the other hand, carefully squeeze a bead of any remaining resin into the hole of the damaged area. Place curing strip over damaged area to hold in resin.
- K10. Remove any air bubbles by using safety razor to lightly smooth over curing strip. Move the vehicle to sunlight area and let sit in direct sunlight for 15 minutes. Resin will cure with natural UV Sunlight (at least 1 hour is required on cloudy days). Once resin has cured, carefully remove curing strip by peeling it away from windshield.
- L Finishing tips: If the surface of the glass is uneven, safety razor may be used to remove any excess cured resin from windshield. Clean windshield again with alcohol towelette.
- M NOTE: The repair may not completely remove blemish or permanently fill the pit.
Item Specifications
| Universal Fitment | Yes |
More from this Category

Sikaflex 227 White Car Body Sealant 150ml Tube SIK
$38.95 $45.95
save 15%
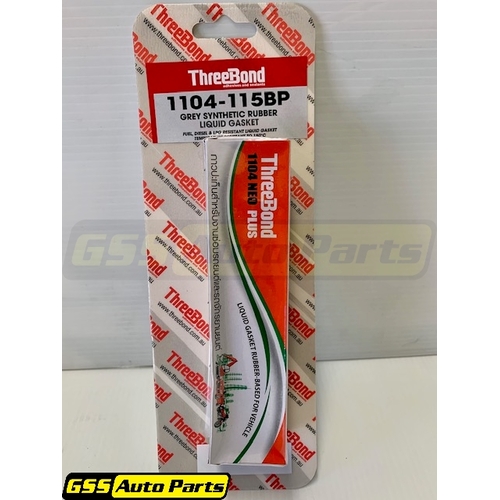
ThreeBond Fuel Resistant Synthetic Rubber Sealant
$16.95 $23.95
save 29%
Loctite 567 - Threadsealant - Controlled Strength
$8.95 $9.95
save 10%
Loctite Super Glue - Instant Adhesive 3l 92178894
$5.95 $6.95
save 14%
Permatex Fast Orange Smooth Lotion Hand Cleaner 3
$55.95 $64.95
save 14%
Permatex 81725 Ultra Blue Gasket Maker Cartridge 3
$71.95 $79.95
save 10%
Permatex Plastic Tank Repair Kit PX09100
$40.04 $49.95
save 20%
ThreeBond Rtv Silicone Liquid Gasket White - Smal
$38.95 $54.95
save 29%
ThreeBond Rtv Silicone Liquid Gasket Very High Te
$96.95 $119.95
save 19%
Loctite Si 5920 - Silicone - C Opper Maxx 85g 9217
$29.95 $33.95
save 12%
Loctite Si 5015 - Silicone Blue Rtv Superflex 9196
$19.95 $22.95
save 13%
Permatex Liquid Metal Filler 99g PX25909
$11.14 $14.95
save 25%
Rapid Fix Dual Adhesive System 6121705
$38.95 $53.95
save 28%
Permatex 81343 Anti-seize Lubricant 28g PX81343
$13.95 $17.95
save 22%
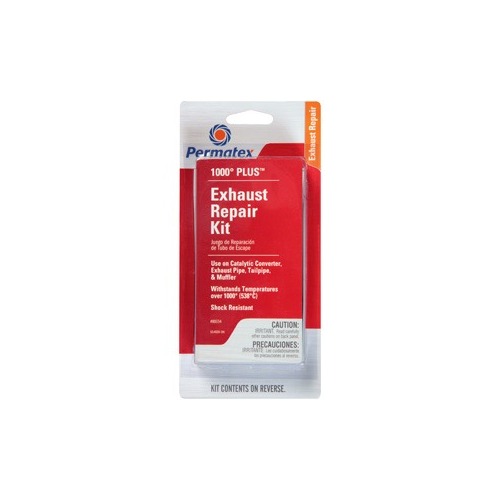
Permatex 80334 1000° Plus Exhaust Repair Kit PX803
$12.95 $20.95
save 38%
Loctite Si 5331 - Threadsealan T-lo Press-plastic
$44.95 $49.95
save 10%
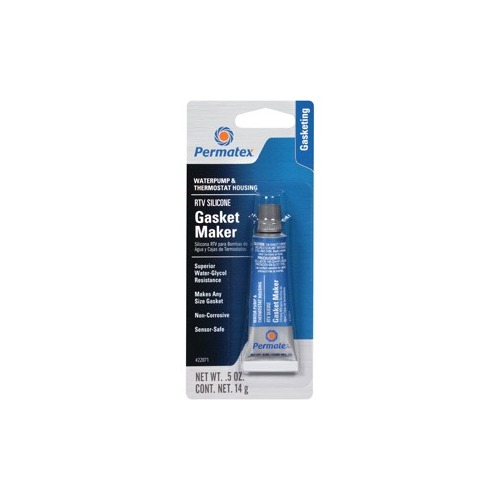
Permatex 22071 Water Pump Thermostat Housng Gasket
$12.95 $14.95
save 13%
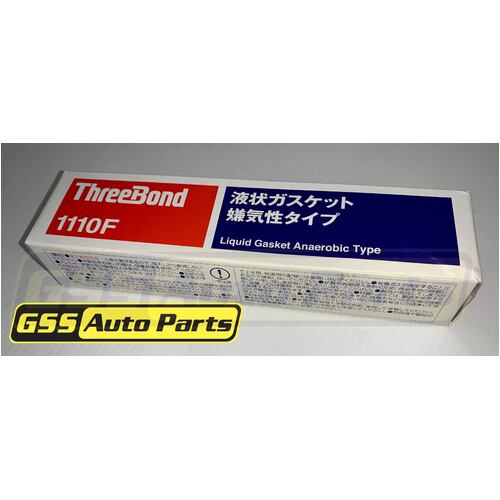
ThreeBond Pipe & Flange Sealant Tube 100g 1110F
$46.95 $65.95
save 29%
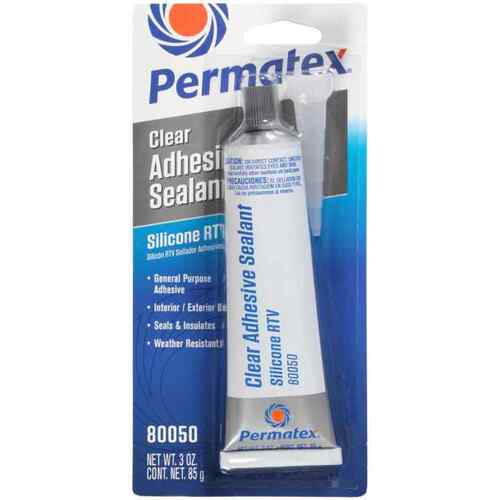
Permatex 80050 Clear Rtv Silicone Adhesive Sealant
$12.74 $15.95
save 20%
Loctite 222 - Threadlocker - L Ow Strength - Purpl
$64.95 $71.95
save 10%
Shop Now. Pay Later.
Always interest-free.

Add your favourites to cart

Select Afterpay at checkout

Log into or create your Afterpay account, with instant approval decision

Your purchase will be split into 4 payments, payable every 2 weeks
All you need to apply is to have a debit or credit card, to be over 18 years of age, and to be a resident of country offering Afterpay
Late fees and additional eligibility criteria apply. The first payment may be due at the time of purchase
For complete terms visit afterpay.com/terms